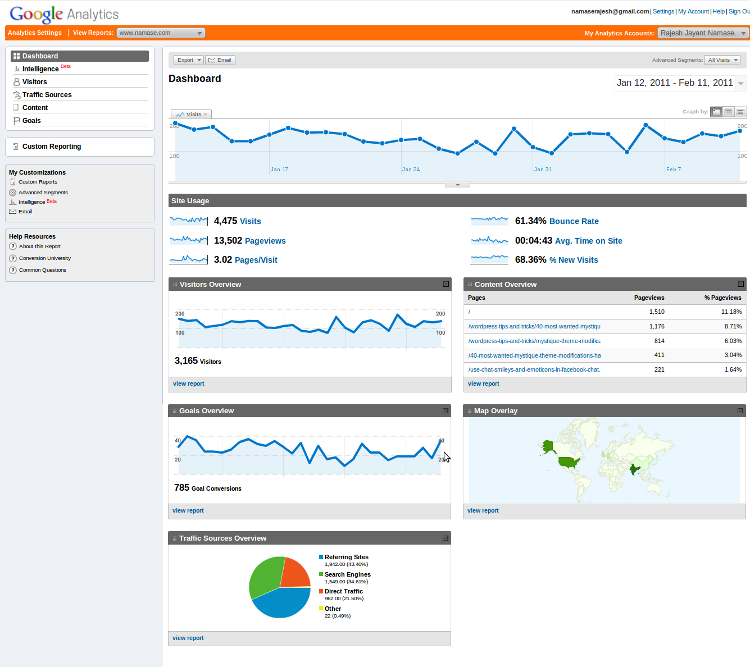
One of the most fundamental reasons for any successful website/blog is the statistics of that site. Google Analytics is the best and a free way to know your audience through your traffic stats. In this article, we will share with you the importance of Google Analytics, and the way to install it in your WordPress blog.
Google Analytics allows website/blog owners to do such things as:
- Who visits your site.
- Discover how your site visitors came to know about your blog.
- View the number of visitors your blog receives every day.
- What are the tasks they do when they are on your website.
- When they visit your website.
- View areas on your blog where people have clicked.
- Know about the most visited article on your site.
- How they interact with your site’s content.
- Know the country in which your site is popular.
- . . . and a ton more.
How to sign-up with Google Analytics
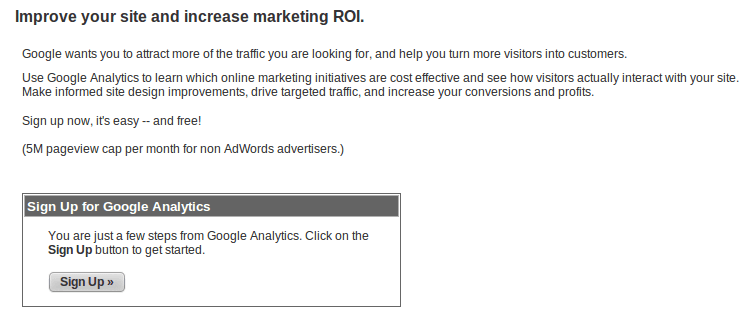
To start with, you need to create a Google Analytics account. To do this, visit Google Analytics sign-Up Page.
The screen like the one below will appear. If you already have a Gmail account, then use that to sign-in with, else you will need to create an account for yourself.
After you sign-in with your Gmail account, you will be prompted to a screen like the one below. This is where you will sign-up for google analytics with your Gmail account.
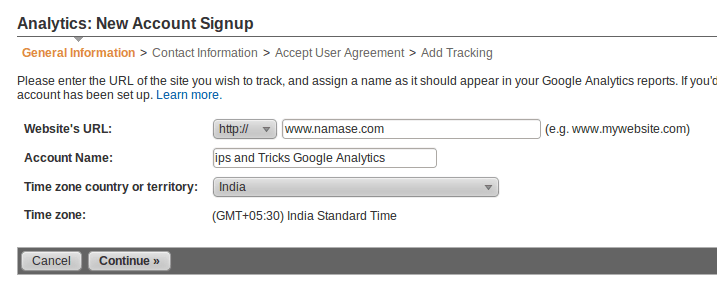
The third step would be to fill-up your site information. The fields are quiet self-explanatory. You will need to enter your Web site’s URL, Account name (any name of your choice), Time zone country, and the time zone.
Step 4 requires you to enter your contact information.
Step 5, you have to agree with their terms.
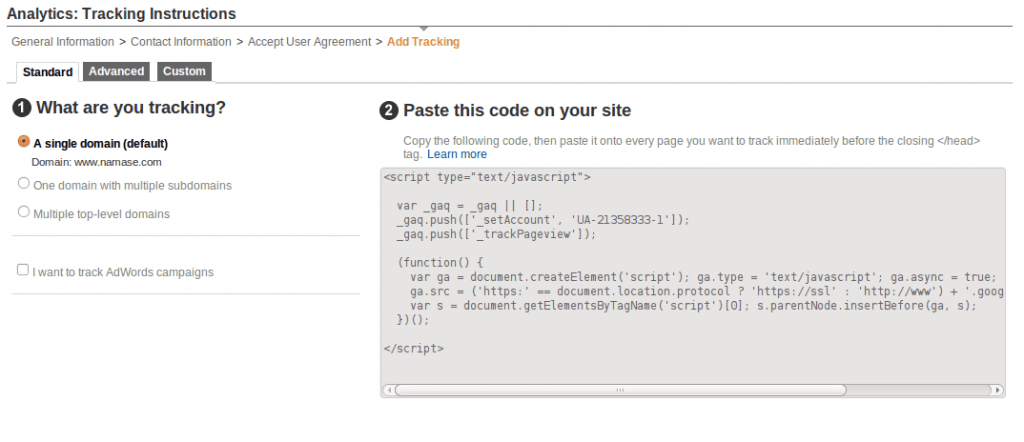
Step 6 is where you will receive the code to paste in your site. This is the most vital part of the sign up. You will need to copy this code and paste it into your blog.
How to Install Google Analytics in WordPress
There are 2 ways to install Google analytics in WordPress. Manually paste the code and plugins.
- Download and use a plugin . . . OR
- Copy and paste code into your blog’s footer file.
1. Plugins Method
There are many plugins available to add Google Analytics code to your site. The two that we recommend are:
- Google Analytics for WordPress by MonsterInsights.
- Google Analyticator by Ronald Heft.
2. Adding Google Analytics manually
Log into your WordPress blog and navigate to your theme’s editor by going to Dashboard -> Appearance –> Editor (Theme editor).
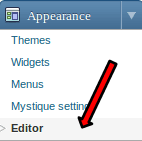
Then on the right you should see a list of your theme’s files. Click on the Footer.php (or index.php) file. Find the </body> html tag.
Copy and paste the Google Analytics code before the </body> tag.
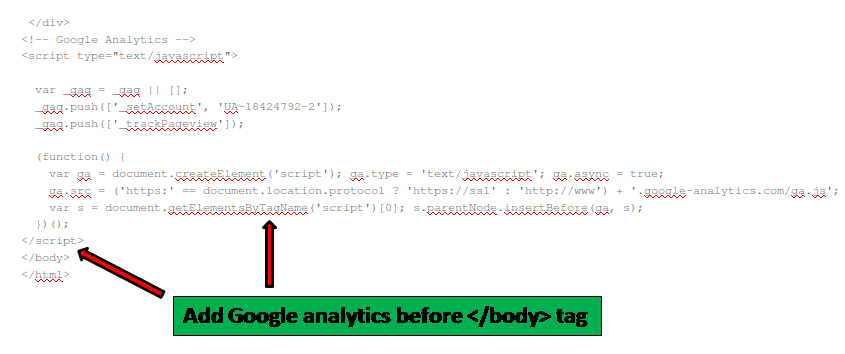
Don’t forget to click Update File to save changes.
To view your site’s statistics now, log into your Google Analytics account and view your stats. Don’t loose your patience immediately if you do not see it in the right way, since it may take a day or so to start receiving your traffic stats.
This is something you must have for every blog, so get it now. If you have any questions then feel free to ask in the comments. If you like this article, then please share it with your friends on twitter and Facebook.


Lisa Sicard
Hi Rajesh, I love using Google Site Kit with mine in the WordPress dashboard, it’s a quick way to see what’s happening with your stats. They are invaluable – otherwise you are working “in the dark.” Great explanation of how to get starte with GA.
Rajesh Namase
I too love Site Kit. It’s very useful because it shows the data from Google Analytics and Search Console.