Procreate is one of those apps that changed how artists use their iPads for creating content. Even though a few professional drawing apps were available for the iPad, Procreate took things to a new level, nevertheless. Due to its simple UI and productivity-centric features, artists use Procreate for easy and demanding projects. And blending seems to be one of the best things you can do on Procreate.
Of course, if you are new to Procreate, you may not know how to blend on Procreate, which is alright. But, just in case you didn’t know, blending means mixing colors on Procreate. You may have to combine different colors to get a new output, you know. For instance, if you want to experiment with how your project looks at the end, blending is a must. But how exactly do you blend on Procreate?
As it happens, you can use multiple methods to mix colors on Procreate and get things done. But, before we look at these different methods, you should have a clear idea about the blending process on Procreate. So, let’s answer the big question: what is Blending in Procreate?
Table of Contents
What is the Blending Process in Procreate?

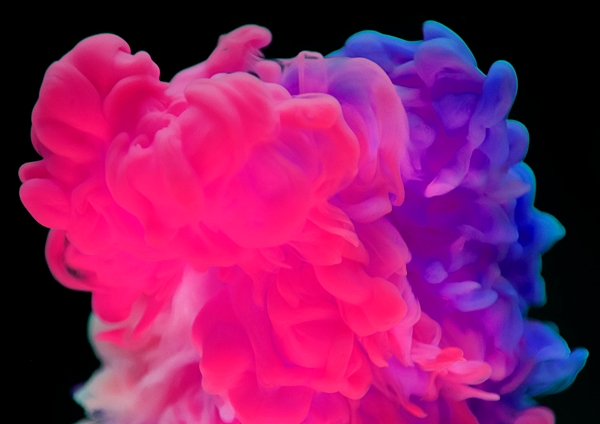
In Procreate, blending refers to the process of mixing two colors.
These colors may be complementary or analogous based on the situation. A blending effect can make your artwork regain its uniqueness and stand out. It is why you can find different methods of color blending on Procreate.
It is the basic definition of blending on Procreate. As you may know, blending is not an automatic task by any means. You have to dedicate time and effort to create a suitable blend of colors. More importantly, several tips can ensure the best results. Don’t worry; we will cover some of the best tips later.
Now that you know what the blending process in Procreate is, shall we go ahead and check how to blend on Procreate?
How to Blend on Procreate?

You can use different methods to blend on Procreate. Of course, they all have their fair share of benefits and disadvantages. Your experience with Procreate on iPad also matters a lot. For instance, it is a huge plus point if you use Apple Pencil, not a third-party graphics pen, for drawing. Similarly, if you deal with multiple layers of content, it makes sense to have a high-performance iPad Air or iPad Pro.
Anyway, we have covered the exact steps for each method.
Methods on How to Blend on Procreate
Method #1 How to Blend in Procreate Using Gaussian Blur
Gaussian Blur is one of the many methods to blend colors on Procreate. Comparatively, the process stands on the easier side of things. The steps to blend colors using the Gaussian Blur method are:
- Arrange the colors that you want to blur on the canvas
- Tap on the Adjustments button and choose ‘Gaussian Blur’ from the menu
- You can now see two options: Layer and Pencil
- If you want to have more control over the process, choose Pencil. Otherwise, you can select Layer.
- Now, you can see a Gaussian Blur indicator on the top. In the beginning, it will be 0%
- In the next step, you can move your finger in the left or right direction to decrease and increase the blur
You can stop the option once you have achieved the right blend of colors. As you can see, blending using the Gaussian Method does not take a lot of time or effort from your side.
Method #2 How to Blend in Procreate Using Smudge Blending Tool
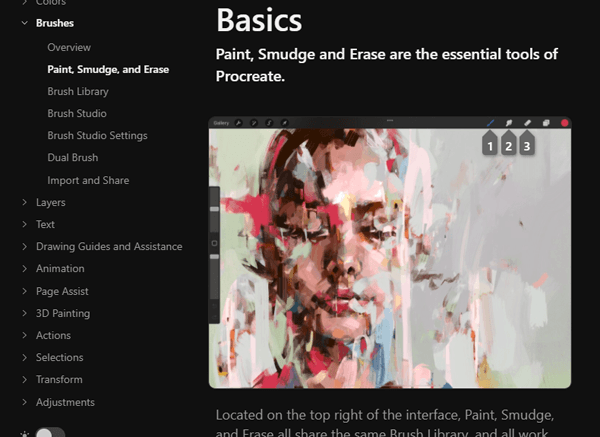
The smudge blending tool can come in handy when you want to mix colors. Of course, you have to choose a perfect level of opacity for the tool. You may already know that the smudge tool is versatile on Procreate. It can be used for smoothening out strokes and blending the artwork.
Here is the thing about the smudge tool. Regardless of the brush that you select, the smudging process will work fine. However, you cannot expect the same level of precision from all brushes. Therefore, you have to follow the steps given below.
- Set up all the colors you want to blend using the smudge blending tool
- Now, tap on the Smudge Tool button and select the AR Smudge 1 brush from the menu
- At this point, you can start smudging on the canvas, thereby mixing the colors
Method #3 How to Blend on Procreate Using Blending Brushes
Did you know that you can use blending brushes to blend colors on Procreate? Well, it is possible if you know which brush to select. The steps for this method are simple if you ask us. You can choose one of the most accessible brushes from the menu and start the blending process.
Here are some recommendations. First of all, you should have maximum control over the brush you would choose for the process. Due to the same reason, we recommend choosing a soft airbrush, which can provide smoother transitions over the colors.
You can also experiment with the strength of the brush and the smudging tool if you want. As a result, you can have an improved stroke on the canvas.
How to Blend Colors on Procreate: Some Tips
Here are some effective tips that will help on how to blend colors on Procreate. Some of these tips are applicable when you use a specific method. On the other hand, you can find some general tips as well. Furthermore, a lot of these steps deal with the level of understanding you have about colors and their values. Therefore, it pays to know your colors better.
#1 Choose Closer Colors
You have to be clear about the colors that you have chosen for blending. You can have an effective blending experience if the colors are closer in terms of value. For instance, if you try to blend red and cyan, you would have a difficult time, indeed. On the other hand, if we are talking about different shades of Orange, you can blend them quickly.
#2 Pick the Right Brush
We told you that you could use a variety of brushes to blend colors on Procreate. However, the brush you end up choosing can make a major difference in the scene. We recommend going for the Gouache and Bonobo Chalk brushes if you want the smoothest blend on the canvas. While you can experiment with other brushes from the collection, they all pose some issues.
#3 Do It At the Right Time
If you want blending to go perfectly, you should do it before your artwork is nearing its completion. While it is not an ultimate decision-maker, you can find solid bases when you have just started with the project. The smudge brush will not do a great job when you have finished the work and are looking for finishing touches. There is always the risk of missing out on the details on the canvas.
#4 Use Alpha Lock
Alpha Lock is one of the best features in the Procreate package. It provides you with better control over overdrawing or painting, and the case of blending is not an exception. Therefore, before you start blending, you should turn on Alpha Lock on the layer. Now, knowing that your area is protected, you can start blending with more control and confidence.
#5 Keep Things Light
Apple Pencil provides a lot of control over the process if you ask us. Therefore, you have to keep things light when you blend using the Apple Pencil. You can start using less pressure on the screen, and the Pencil would do the rest. If you use a lot of pressure, you can see a lot of blocks on the screen. These blocks do not go well with the perfection of the design.
#6 Use A Single Layer
Having multiple layers on Procreate is a great thing, indeed. However, when you are blending, you have to stick to a single layer. If you try to blend colors from two different layers, you may end up spending a lot more time. On the other hand, a single layer will make things awesome in terms of control.
The Bottom Line
As you can see, all the three methods to blend on Procreate are simple as far as their core idea is concerned. However, to get a perfect blend of colors, you have to follow some tips while using Procreate. We hope both these things will help you create the perfect artwork using Procreate.


Leave a comment
Have something to say about this article? Add your comment and start the discussion.