Proxy servers have become a staple for online security with simple privacy solutions. Their versatility ensures that everyone, from an average internet user to a large corporation, can find a suitable and affordable proxy solution.
To make sure that everyone can enjoy the collective benefits of proxy servers, their structure usually begins with two foundational types – datacenter and residential proxies.
Datacenter addresses are perfect for private browsing sessions. Cheaper than their counterparts, these connections are faster and cost less. Seems like a pretty sweet deal, right? Why would anyone buy slower and more expensive residential IPs? In this case, the truth lies in protection and a wide selection of profitable use cases.
If you want to visit or extract information from websites that use proxy protection, datacenter IPs will begin to show their shortcomings. First of all, because these servers are located in special facilities with high-end hardware, they blow their competition out of the park with better performance metrics, but these circumstances have one fatal error – no affiliation with internet service providers (ISP).
The average internet browsing session is simple: your ISP leases out a public IP that is used to access and communicate with recipient web servers. However, your IP is not just a sequence of numbers. The data within the HTTP request reveals your ISP and the approximate location of the connection. While not very accurate, this personalized information is used by search engine websites, social media platforms, and even some retailers to verify the legitimacy of the organic connection. For more clearance, you can check this information on whatismyip.com or any similar website that will disclose the data attached to your public IP.
Datacenter IPs are problematic because they do not show any connection to a legitimate ISP. Because of that, some pages add a captcha or block access to these pages completely.
Meanwhile, the beauty of residential proxies lies in its near-perfect disguise. Sure, their connections are slower, but if you are not using the connection for heavy downloads and real-time games, the difference is negligible. A residential IP is borrowed from a real device, which gets internet access from a legitimate ISP.
All things considered, datacenter proxies are good for casual browsing sessions unless the address gets flagged for suspicious activity, while other residential IP blends in perfectly with regular web traffic, making them a perfect choice for automation of data scraping, social media management, and other sensitive tasks. Also, residential proxies usually have more IP addresses.
One of the biggest strengths for both sides is the ability to change the geolocation of your connection at will. This feature makes proxies a crucial tool for a normal browsing experience in countries with internet censorship.

If you want more technical info on proxy servers, look up Smartproxy – one of the best providers with affordable deals for new clients. For now, let’s try to install and integrate proxies into your browser.
Choose Your Provider
Before accessing proxy servers, make sure to find the provider that suits your needs. For continuity, we will be using proxy servers from Smartproxy.
Warning: free or public proxies might seem like a better alternative, but the owners behind these servers are often cybercriminals that bait web surfers into transmitting sensitive data through an unencrypted connection.
How to Set Up a Proxy Server on Google Chrome
In order to start using your proxy server on Chrome, follow these simple steps:
- Open your browser and select the three vertical dots on the corner of your browser.
- Go to “Settings” and select “Advanced“.
- In the System section, click “Open proxy settings“.
- Go to the section on Internet properties.
- Enable the setting to “Use a proxy server for your LAN“.
- Enter your proxy IP and login credentials.
- Click “OK” and save.
That’s it! You are good to go!

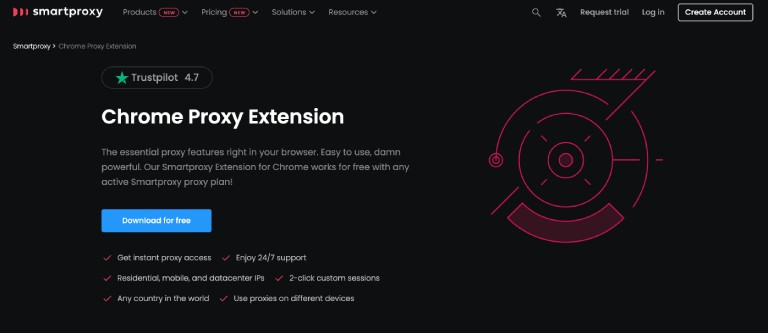
If your proxy provider has a browser extension, you can use it as an alternative way to connect. For example, here are the steps for connecting to a proxy via the Smartproxy browser extension:
- Go to the Google Chrome web store.
- Search for “Smartproxy extension“.
- Click “Add to Chrome“.
- Enable your browser extension.
- Open the extension to see the graphical user interface (GUI).
- Select your proxy type, location, and session type.
- Enter your credentials.
- Toggle the switch to enable your proxy.
How to Set Up a Proxy Server on Firefox
To start using a proxy on your Firefox browser, follow these steps:
- Start your browser.
- Click on three horizontal lines in the corner of your window.
- Head over to “Network settings” and click “Settings“.
- Select “Manual proxy configuration“.
- Enter your proxy IP and login credentials.
- Done! Your internet connection should travel through a proxy server.

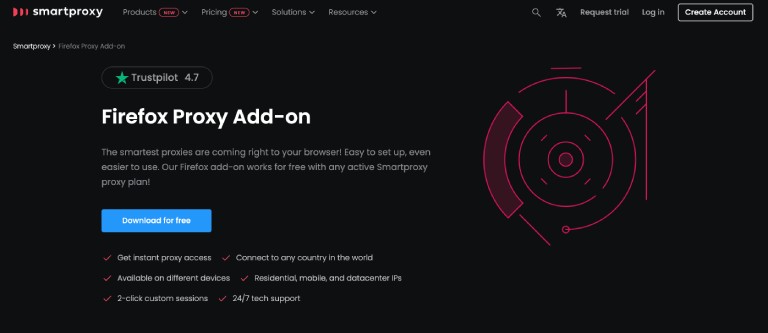
Firefox also has a Smartproxy add-on that is identical to its Chrome extension. Repeat the same steps if you plan to use your proxy server from Smartproxy.
Summary
After following these simple steps, your browsing session will transmit data packets through a remote server. You can test your proxy on whatismyip.com and see the IP address change. If everything checks out, go and enjoy your anonymous browsing session!


Leave a comment
Have something to say about this article? Add your comment and start the discussion.