In this article we’ll show you how to install WordPress on your local computer. Why is it useful to have WordPress on your local computer? Well, maybe you’ve a website, and you want to change something on the website’s theme, but you don’t want to risk that if you mass up something, your website will go down, and you’ll lose a lost of visitors or you might want to create your own theme and with a WordPress on your local server make is much easier.

How to Install WordPress on a Local Server
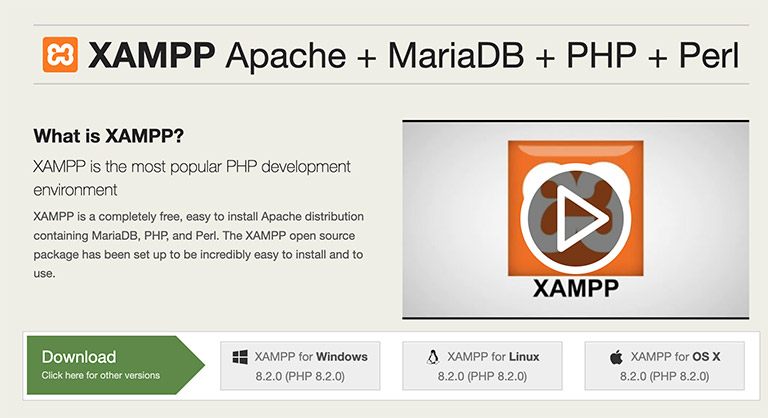
To be able to install WordPress on your local server, first you need to have one. There are many server software like XAMPP, WAMPP or many others. We prefer XAMPP because it’s easy to install, to control and to manage your websites with it.

How to Install XAMPP
- First of all you need to Download XAMPP. When downloading it, make sure you choose the right version (We prefer to install it with the installer, not with the ZIP version).
- After you downloaded it, run the installer, make sure to check MySQL and Apache these two are the most important things you must have to install WordPress on your Local Server (You can install FileZilla as well but we’re sure you have it already).
- After the installation is done, reboot your computer. It is important to reboot it, or otherwise the Apache will not work properly.
- After you restarted your computer, open up the XAMPP Control Panel and click on Admin in your the second row. Where it says MySQL. That will open up your MySQL database, and you’ll be able to create/edit/delete databases and users.
How to Install WordPress
- Create a new Database and call it what ever you’d like to. This will be your WordPress’s Database.
- Go to http://www.wordpress.org and download the latest Version of WordPress. Go where you installed XAMPP, default is C:/XAMPP and go to htdocs and extract the zip there. (C:/Xampp/htdocs)
- Open up your internet browser and type in Localhost or http://localhost it should open up your WordPress Installation.
- Press “Let’s Go” then enter the details:
- Database name: (The database you created earlier)
- Username: (Your MySQL databse username default: root)
- Password: (Your MySQL password, leave it empty)
- Host: Localhost
- Table Prefix: (You can leave it WP_ or leave it empty.)
- Press next, create your admin account.
- Login. You are done.
Security Settings
If you leave everything default, you risk your computers safety. What can you do about this? You can add a password to every default user in your MySQL center. To do this, go to http://localhost/phpmyadmin in the top menu search for “users” then select one user, and click edit Edit Privileges scroll down until you see password. Add your password of choice there and then press GO. Do this for each user.
Be sure to go to c:/XAMPP/htdocs, and search for wp-config. Open it up with any text editor, and search for:
/** MySQL database username */
define('DB_USER', 'root');

/** MySQL database password */
define('DB_PASSWORD', ' pass here ');
And change the username and password to the new ones and you are done. If you’re facing any problems let us know in form of comments below.


Leave a comment
Have something to say about this article? Add your comment and start the discussion.