



If you find yourself stuck with a black screen while playing your PS4, the issue may be with the HDMI port. So how can you be sure? Like any other PS4 problem that can keep you from playing games, such as controller drifts, software crashes, or overheating, we know how frustrating it is when you can’t figure out the problem.
Don’t worry! We’ve created this guide to help you fix PS4 HDMI port in no time.
How to Repair PS4 HDMI Port and Cost?
What can you do if you find yourself stuck in a situation where your PS4 HDMI port is not working? Well, our step-by-step guide will help you resolve the issue at your home. Remember that replacing the HDMI port is quite challenging, and we don’t recommend performing a DIY repair unless you either are an expert at repairing consoles or know what you’re doing (which means you could further damage your PS4).
To avoid all the hassle, it’s best you contact Sony and schedule a repair or that you get a PS4 HDMI port replacement. Sony usually charges $150 for repairing the HDMI port, and there is a higher chance this would not be available under warranty. This can be due to the physical damage to your PS4 HDMI port or the age of your console. So be prepared that you could pay to get it repaired.
If you do decide to repair it yourself, here’s how to fix HDMI port on PS4:
Things You’ll Need
Open Your PS4
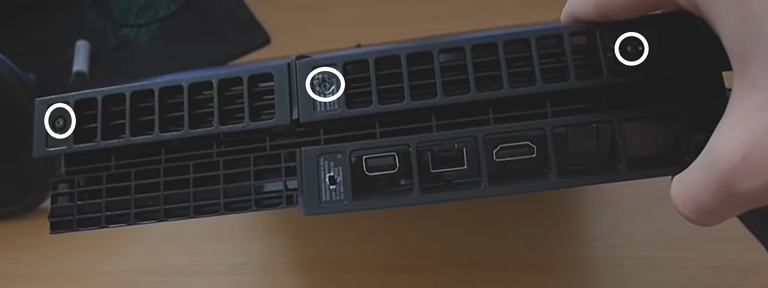
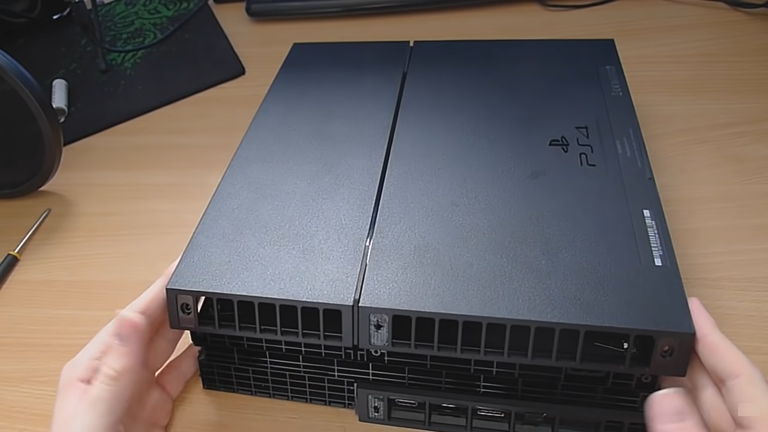
First, you remove the warranty seals on the rear of your PS4. Behind these seals, you’ll see the screws holding the top plastic tray.
- Now, unscrew the three highlighted screws using a Torx and carefully remove the panel.


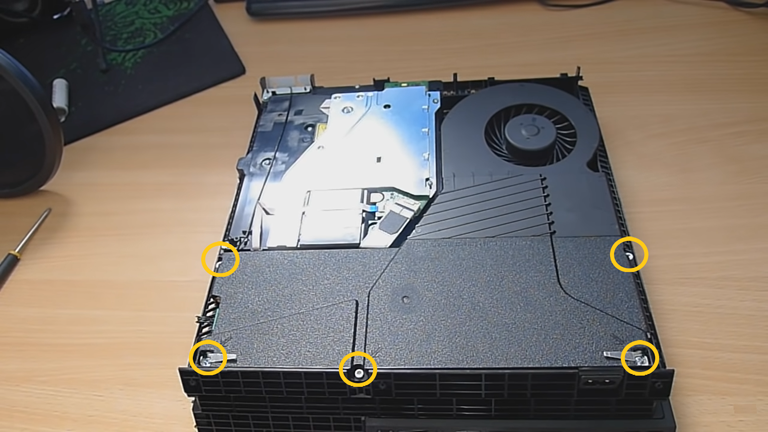
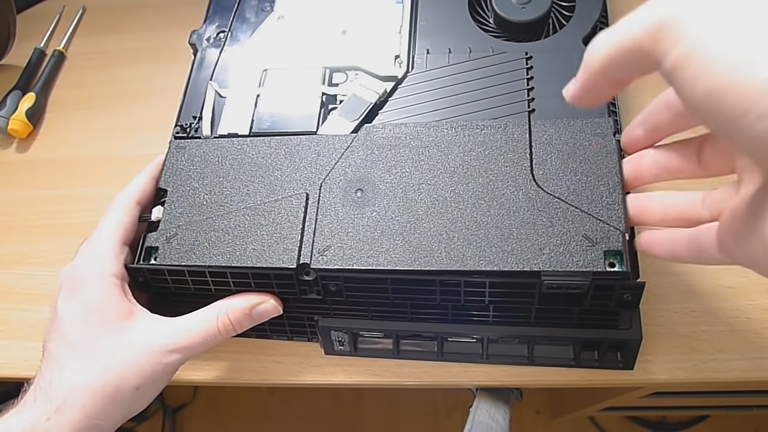
- Remove the 5 screws holding the power source in position.
- Keep in mind to note the number of screws in each step of disassembly.
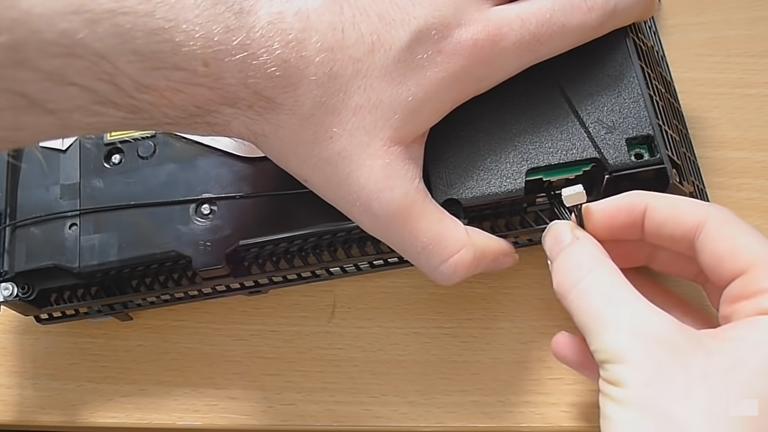
- Before removing the PSU, disconnect the small wire that connects the power source.
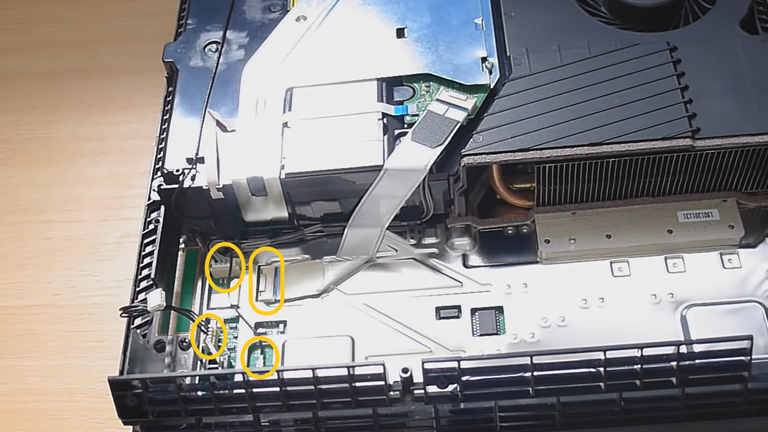
- Once you’ve taken out the power source, disconnect the highlighted cables connected to the PS4 motherboard.
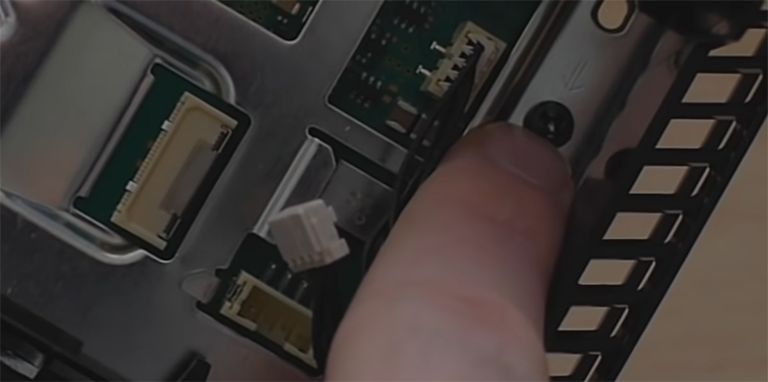
- Now, unscrew the only black screw highlighted in the image.

- Unscrew the remaining screws left on the rear side of your console and remove the small bottom trap carefully.
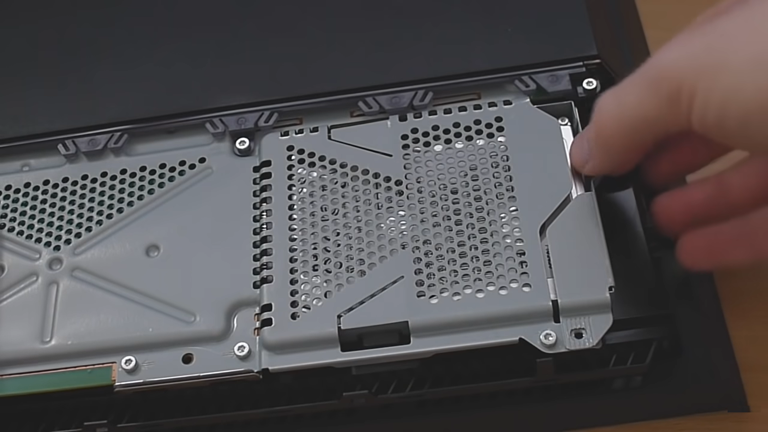
- Remove the screw holding the console’s hard drive and slide it out.
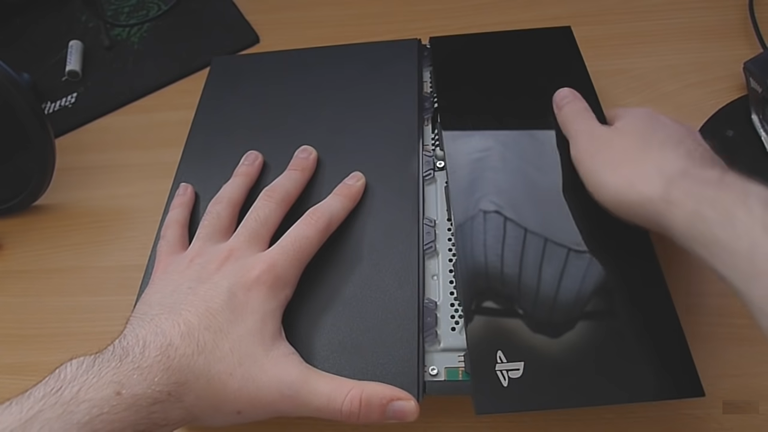
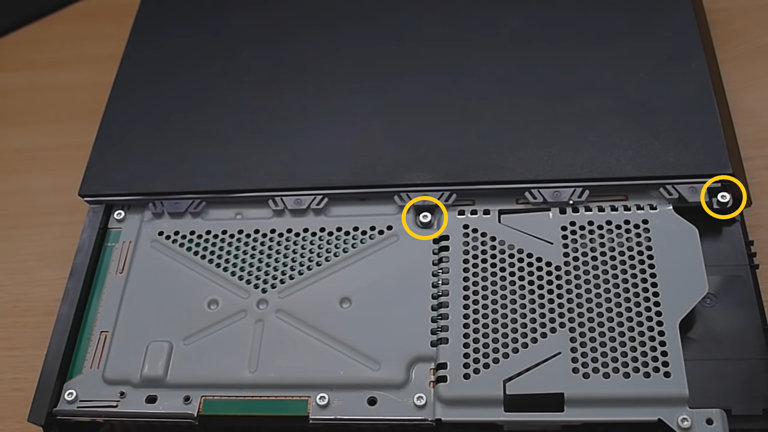
- Now, unscrew the two main screws used to keep the second plastic tray in place.
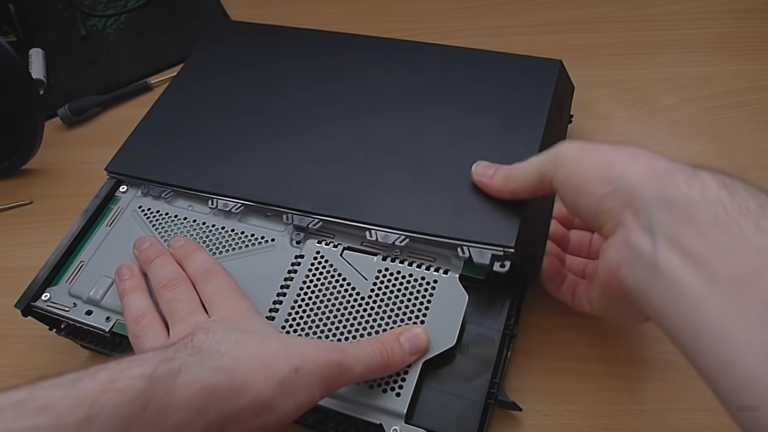
- Take off the remaining plastic tray from the right side (as shown in the picture).
Remove The Motherboard
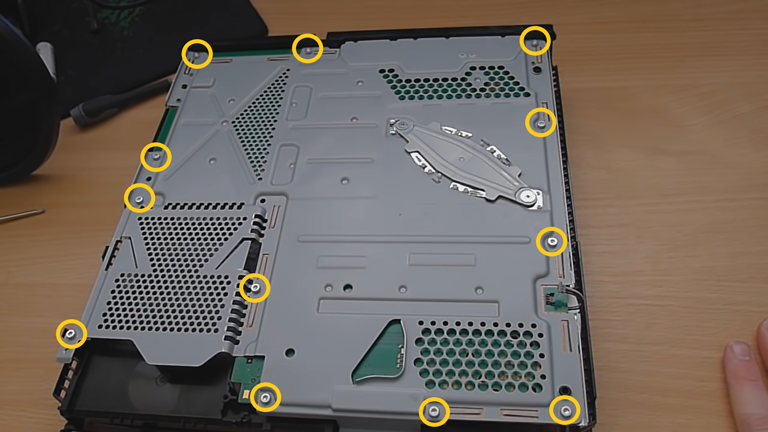
- Unscrew all twelve highlighted screws. This will allow you to take out the metal plate holding the motherboard in place.
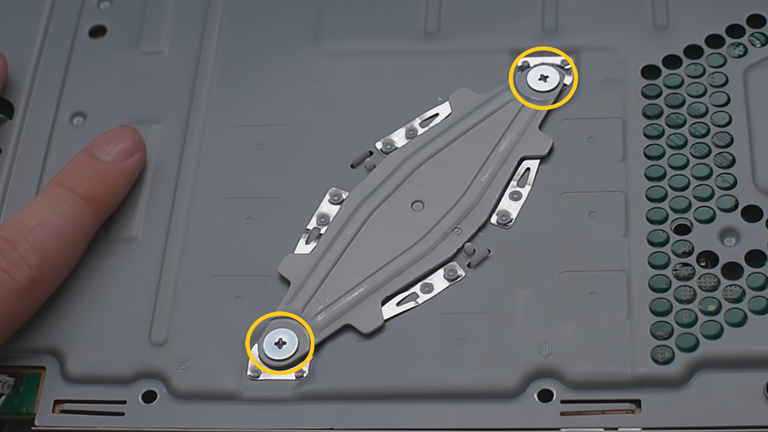
- Now, unscrew the two large screws holding the clamp in place.
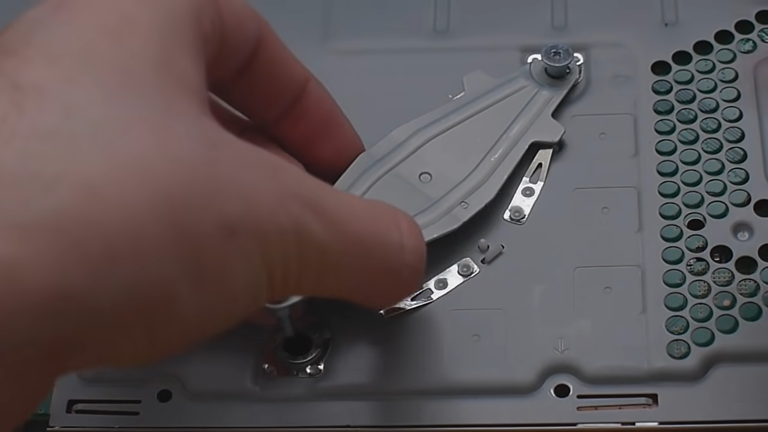
- Take out the heatsink clamp.
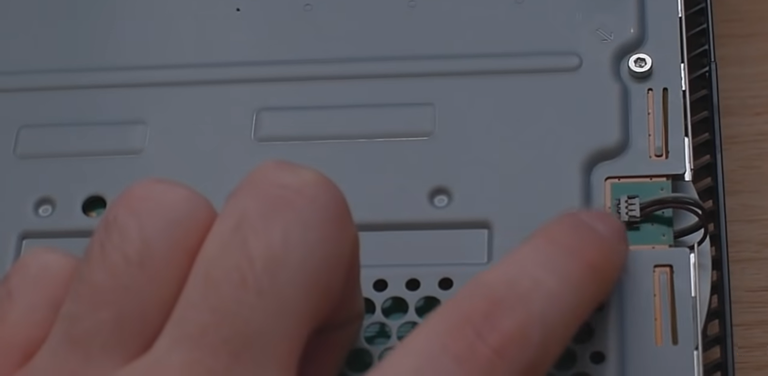
- Disconnect the small connector as given in the picture.

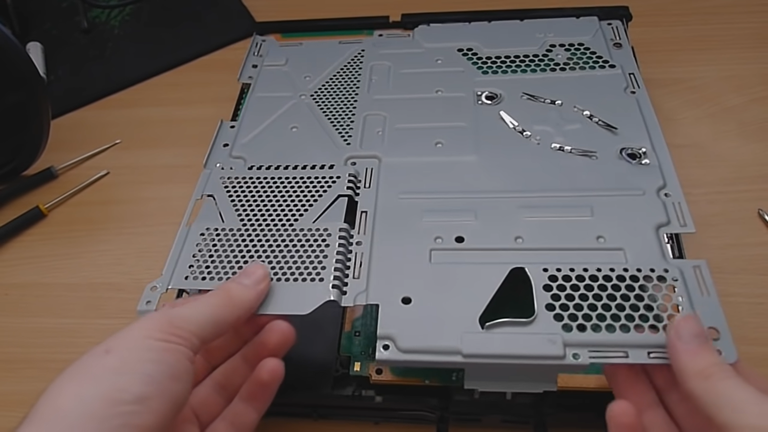
- Remove the large plate of metal from the console.
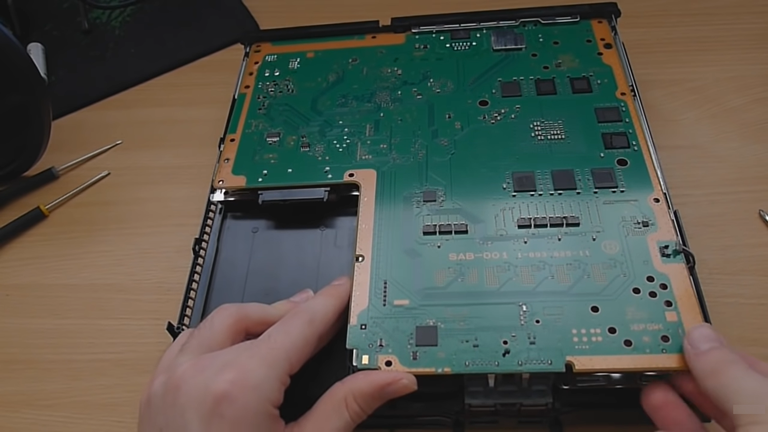
- Finally, take out the PlayStation motherboard. To keep the ports on the left from getting damaged or bent, lift the right-side first and then take it out.
Desolder the PS4 HDMI Port
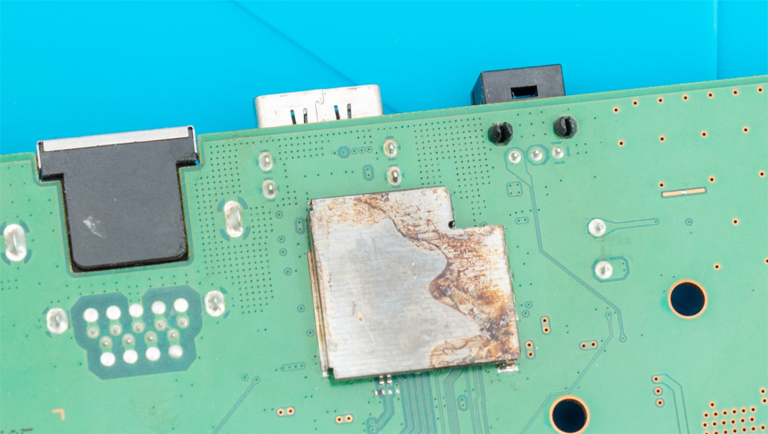
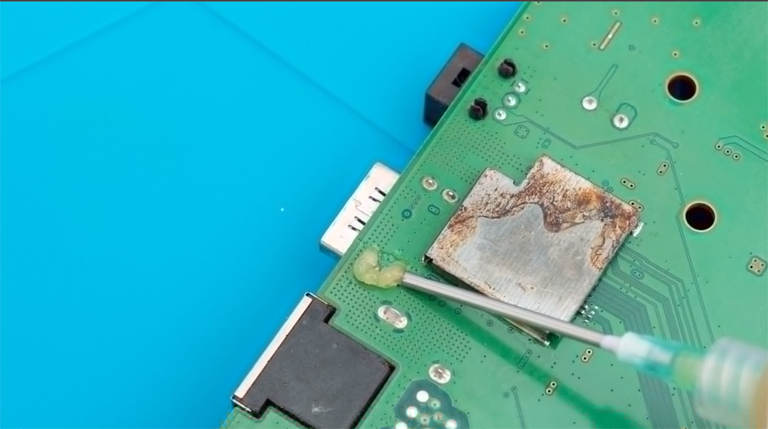
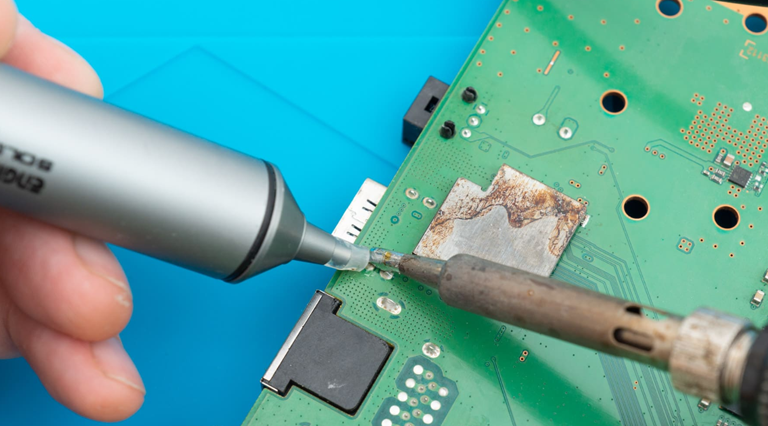
- First, apply flux to the large pins as it will help in desoldering the HDMI port.

- Now, take out as much solder as you can from one pin using a desoldering pump and a soldering iron. Do the same with the remaining pins on the HDMI port.

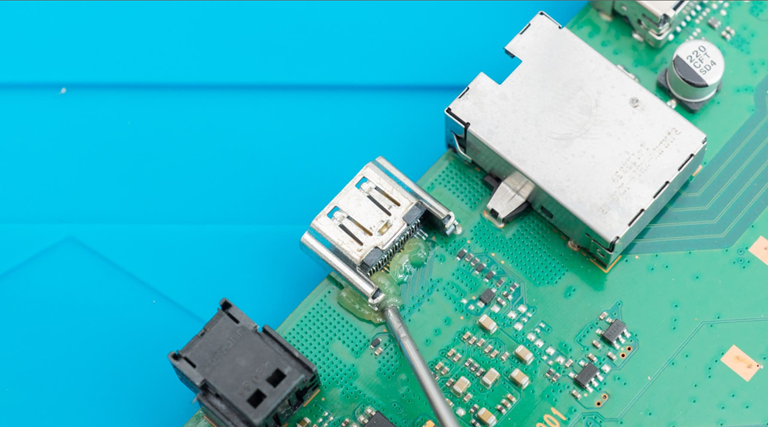
- Turn over the board and apply flux to the smaller pins on the HDMI port.

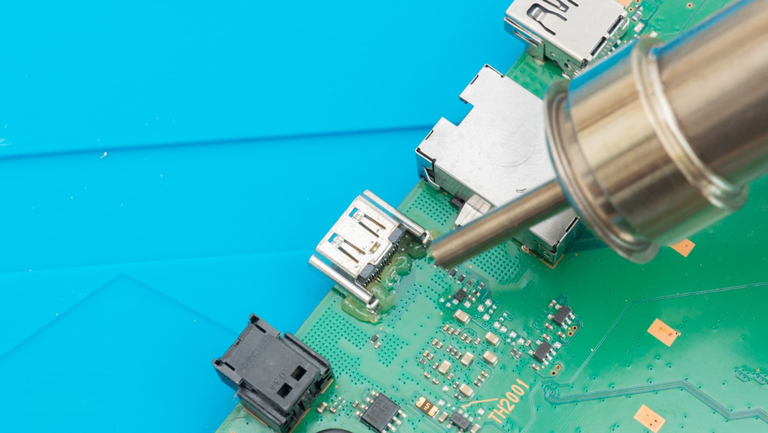
- Now, take a hot air gun and move the nozzle in a circular motion to melt the solder on the pins. Don’t overheat a single point on the board to avoid thermal stress.

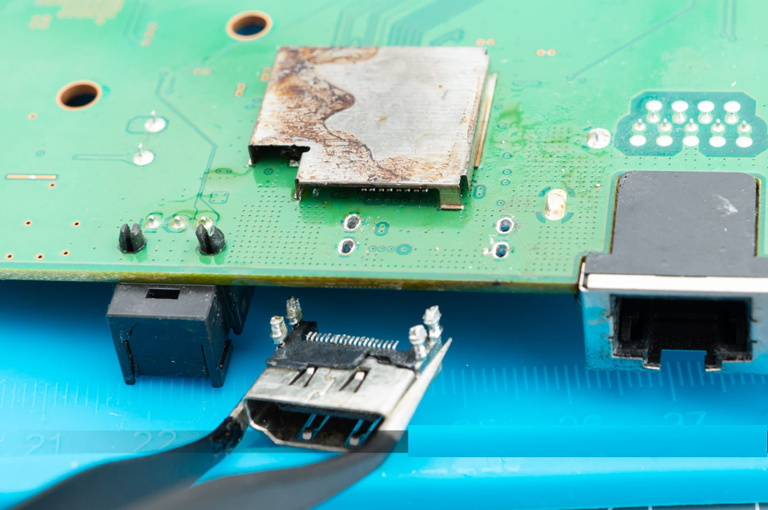
- Once the PCB is hot enough, the remaining solder on the pins will melt, and you can gently push the HDMI port out using a pair of tweezers. (Note: The area will be too hot, so don’t try to touch it.)

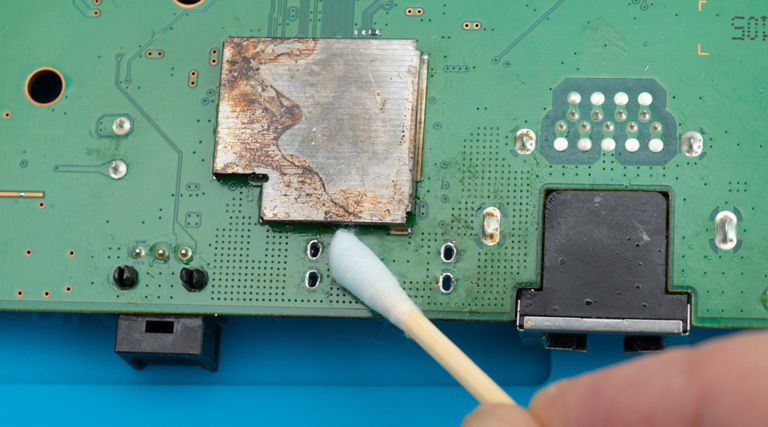
- Now, use a cotton swab dipped in isopropyl alcohol to clean the solder pads and the board. Ensure no flux residue is left before installing a new HDMI port.
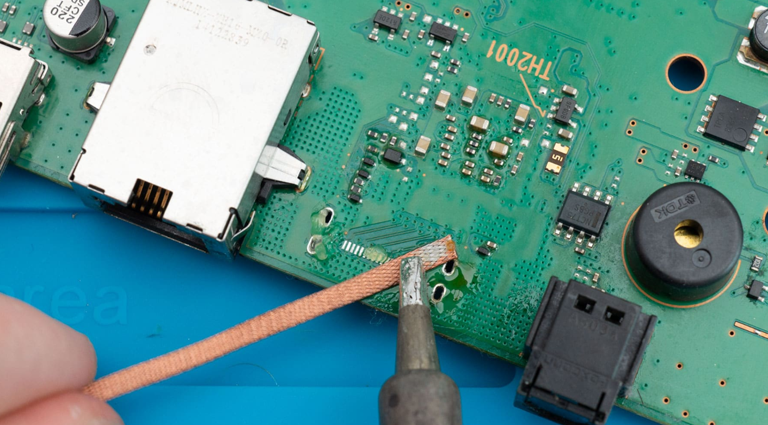
- Flip over the board and clean the solder pads using your soldering iron, flux, and solder wick.

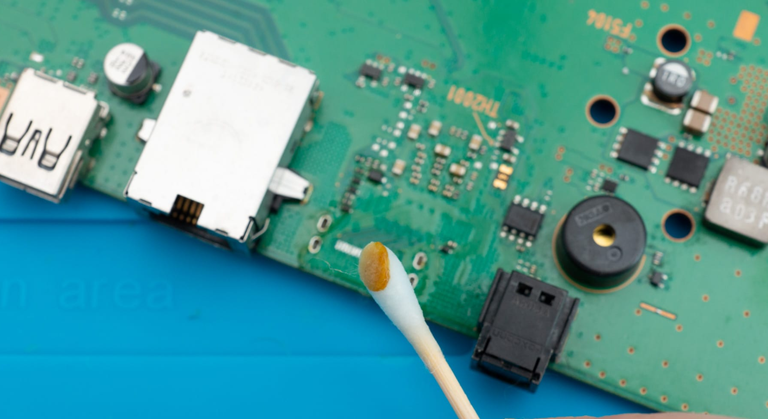
- Wipe out the flux residue from the solder pads and the board.

Install New PS4 HDMI Port
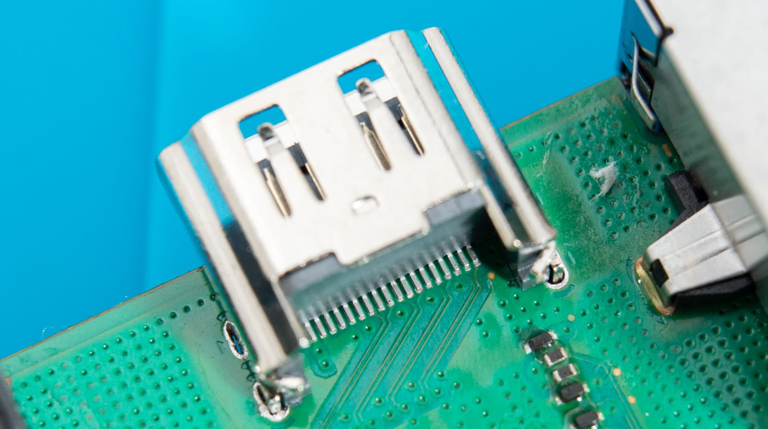
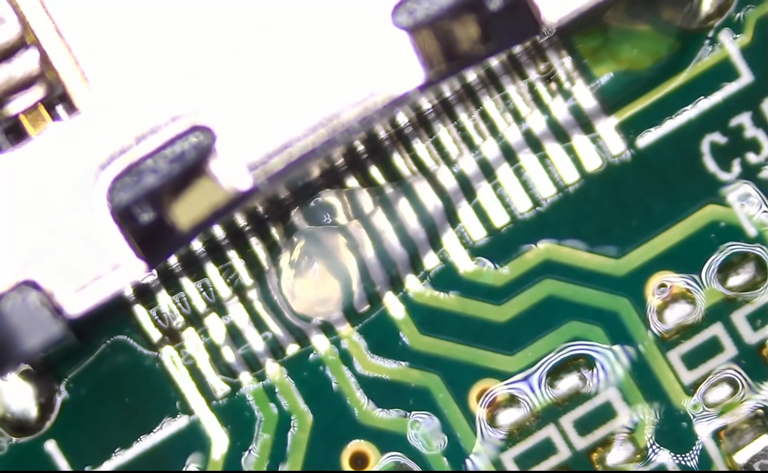
- After cleaning the board, you can install a new HDMI port. The smaller pins should line up with the solder pads and perfectly fit right into the larger pins.

- Now, solder the smaller pins first. Keep in mind it’s a little tricky, so you will need a magnification tool to see clearly and align them with your HDMI port.

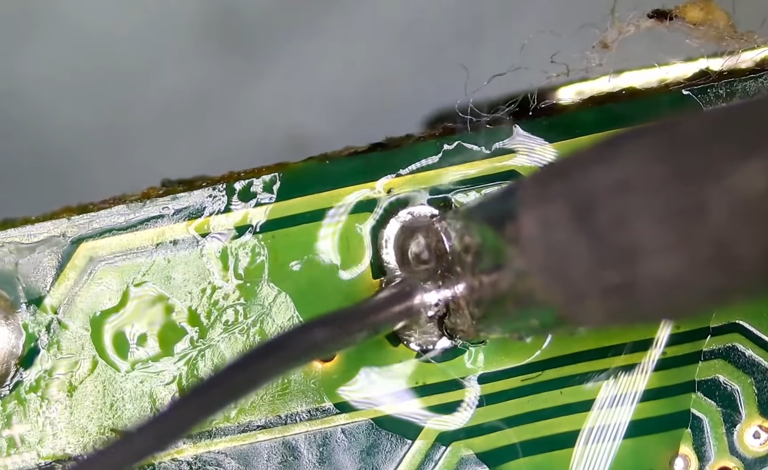
- Turn over the board and apply some flux to your HDMI port’s large pins before soldering.
- Once done, clean the area using a cotton swab damped in alcohol.
Reassemble the Console
- Once you have installed a new HDMI port, reassemble your console by following the disassembly process in reverse order.
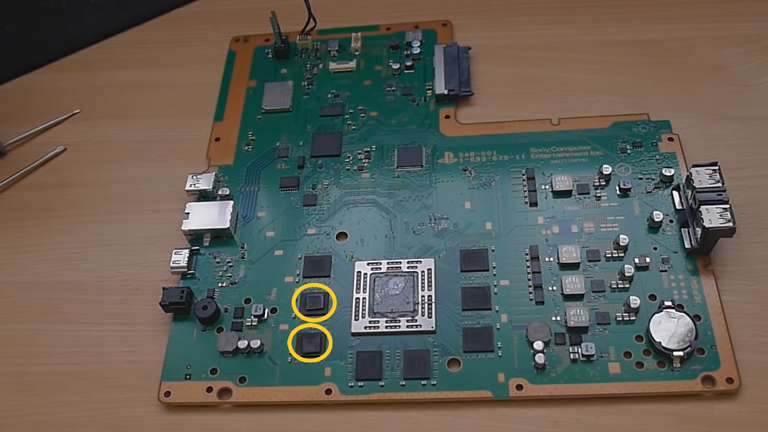
- Ensure all memory chips have thermal pads on because they can sometimes fall off. So, you have to put them back on the appropriate chip before reassembling it.
Again, do this DIY PS4 HDMI port repair like we did if you have enough technical experience and confidence!
Frequently Asked Questions

What You’ll Need to Replace Your PS4 HDMI Port?
2. A desoldering pump: A device designed to suck melted solder out of the board and pin.
3. Solder: An alloy often used to join metal parts as it has a low melting point.
4. A soldering gun: A device that uses heat to separate or join metal connections.
What Is the HDMI Port Used For?
Can You Use the PS4 Without HDMI?
How Can You Tell if PS4 Video Problems Are Caused by a Broken HDMI Port?
1. A defective HDMI cable.
2. PS4’s resolution doesn’t support TV.
3. A damaged HDMI port
4. Some PS4 electronic parts may not be working.
What Causes the PS4’s HDMI Port to Break?
1. The HDMI cable is frequently plugged in and out.
2. Plugging the cable in with force or at the wrong angle.
3. An unexpected force pulled out the HDMI cable.
Can You Fix PS4 HDMI Port Yourself?
How Much Does It Cost to Fix HDMI Port on PS4?
Where Can I Get My PS4 HDMI Port Fixed?
Sony’s Authorized Repair Facility. If your console has a valid warranty, then it would be best you get it repaired by Sony.
Local Repair Outlet. Another great option is that you find a local repair expert who knows what they’re doing and has enough experience to repair your device.
DIY Repair. You should be realistic with your repair abilities and skills before considering this option.
The Bottom Line
If you’re having trouble with your PS4 HDMI port, don’t worry. Follow our step-by-step guide above to get your PS4 back up and running in no time:
Hopefully, this guide has helped you with the PS4 HDMI fix as soon as possible. Make sure you’ve got the right equipment and knowledge to go for a DIY repair. Otherwise, it’s best you get it repaired from an authorized service center. Were you able to repair the HDMI port on your PS4? If so, share your experience in the comments below!

Leave a comment
Have something to say about this article? Add your comment and start the discussion.